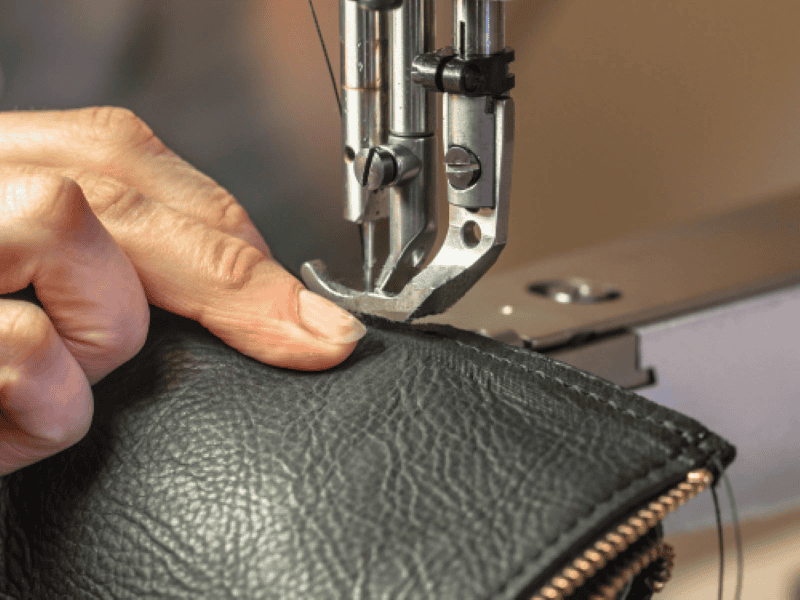
In the journey of parenting, a diaper bag (also known as a mommy bag or baby bag) is an essential tool for new parents.It conveniently stores bottles, diapers, wipes, toys, and other baby essentials, making outings a breeze. If you’re tired of generic store-bought options, why not try to have a sewing mommy bag tutorial for your own? DIY diaper bags are cost-effective, customizable in size and design, and eco-friendly if you use recycled fabrics. This beginner-friendly sewing mommy bag tutorial covers everything from materials to step-by-step instructions, helping you create a durable, spacious bag (approx. 40cm x 30cm x 15cm) with features like a zipper, multiple pockets, and an adjustable strap. Whether you’re a crafting novice or a busy parent, you’ll gain confidence and skills!
Why Choose to learn Sewing mommy bag tutorial ?
Store-bought diaper bags can be expensive (ranging from $20 to $200+) and rarely meet all your needs. Sewing mommy bag tutorial offers unbeatable advantages:
- Customization: Add pockets for specific items, like a bottle warmer or phone slot.
- Cost Savings: Materials cost only 15–50, a fraction of retail prices.
- Sustainability: Use upcycled fabrics or organic cotton.
- Pride and Joy: Completing a functional, handmade bag is incredibly rewarding!
Materials List:
- Outer Fabric: 1 yard (0.9 meters) of waterproof canvas or cotton-linen blend (durable and easy to clean).
- Lining Fabric: 1 yard (0.9 meters) of cotton or waterproof nylon (for internal compartments).
- Padding: 0.5 yards (0.45 meters) of foam or quilt batting (to reinforce the base and sides).
- Hardware: One 12-inch (30cm) zipper, two magnetic snaps, 1 yard (0.9 meters) of webbing for straps, two D-rings, and matching thread.
- Extras: Elastic cord (for inner mesh pockets), hook-and-loop tape (optional, for removable pads).
Tools List:
- Sewing machine (or hand-sewing needles if you’re a beginner).
- Scissors, measuring tape, ruler, and fabric chalk.
- Iron (to press fabric).
- Straight pins or clips (to hold fabric layers together).
Pro Tip: Opt for waterproof fabrics to handle spills and weather. Beginners should start with simple cotton to avoid frustration!
Step-by-Step Sewing Mommy Bag Tutorial

This process what sewing mommy bag tutorial is divided into four phases, totaling 20–25 key steps. Each step includes tips to avoid common mistakes. No advanced skills are needed—just patience and attention to detail!
Phase 1: Preparation and Cutting (4–5 Steps, 1 Hour)
- Design Your Pattern: Sketch a template on paper or download a free pattern (search for “free diaper bag pattern PDF”). Decide on features like main compartments, front pockets, side pockets, and dividers.
- Measure and Mark: Use a measuring tape to outline cutting lines on your fabrics, adding a ½-inch (1cm) seam allowance. Cut:
- Outer fabric: 2 pieces (16″ x 12″ / 40cm x 30cm) for the body, 1 piece (16″ x 6″ / 40cm x 15cm) for the base, 2 pieces (12″ x 6″ / 30cm x 15cm) for sides, and 1 piece (8″ x 6″ / 20cm x 15cm) for the front pocket.
- Lining fabric: Same dimensions as outer pieces (for inner layers).
- Padding: Cut to match the base and sides.
- Cut All Pieces: Carefully cut along the lines. Label each piece to avoid confusion.
- Pre-Treat Fabric: Iron all fabrics to remove wrinkles. If using waterproof materials, apply a fabric protector spray.
Phase 2: Assembling the Inner Structure (6–8 Steps, 2–3 Hours)
- Sew Inner Pockets: On the lining fabric, stitch 2–3 pockets. For example:
- Create a zipper pocket: Cut a 6″ x 8″ (15cm x 20cm) rectangle, fold edges under, and sew a zipper to the top. Attach to the lining body.
- Add an elastic pocket: Sew a rectangle with elasticized top edges for wipes or diapers.
- Install a Bottle Warmer (Optional): Cut a piece of thermal lining (e.g., Insul-Bright) to fit a side panel. Layer it with lining fabric and stitch together.
- Assemble the Lining Body: Pin the lining body, sides, and base together, then sew along edges to form a “box” shape. Reinforce corners with backstitches.
- Add Dividers: Sew vertical strips of fabric inside the lining to create compartments (e.g., one for diapers, one for toys).
- Reinforce the Base: Insert foam padding between the lining base layers and stitch around the edges.
- Test the Fit: Temporarily assemble the lining to check for smoothness and alignment.
Phase 3: Constructing the Outer Shell and Adding Hardware (6–8 Steps, 2–3 Hours)
- Sew the Outer Body: Repeat Step 7 with outer fabric pieces to form the main bag shape.
- Attach the Zipper: Pin the zipper to the top edge of the bag opening. Sew it in place, ensuring it glides smoothly. Add fabric tabs to the ends for a polished look.
- Sew Pockets and Flaps: Attach the front pocket to the outer body; add magnetic snaps for closure. For side pockets, sew elasticized pouches for bottles or wipes.
- Install Straps and Handles: Cut webbing for handles (sew to the sides) and an adjustable shoulder strap (thread through D-rings). Secure with reinforced box stitches.
- Combine Inner and Outer Layers: Place the lining inside the outer bag, wrong sides together. Pin around the top edge, leaving a 4-inch (10cm) gap for turning.
- Turn and Close: Pull the bag right-side out through the gap. Hand-stitch the opening closed with an invisible ladder stitch.
- Reinforce and Decorate: Add topstitching around the top edge for structure. Attach decorative elements like labels or embroidery. Check all seams and fix any loose threads.
Phase 4: Finishing Touches and Testing (3–4 Steps, 1 Hour)
- Press and Clean: Iron the entire bag to smooth wrinkles. Trim any stray threads.
- Function Test: Fill the bag with baby items (e.g., bottles, diapers, wipes) to test capacity, weight distribution, and pocket accessibility. Ensure zippers and snaps work smoothly.
- Final Adjustments: If straps are too long or pockets are loose, make tweaks now.
Congratulations—you’ve made your own diaper bag according sewing mommy bag tutorial ! This sewing mommy bag tutorial covers 20 core steps; adding extras like a changing pad or trolley sleeve can extend it to 25–30 steps.
Pro Tips, Variations, and Troubleshooting
- Time-Saving Hacks: Use precut kits, rotary cutters for faster cutting, or watch video tutorials on YouTube (search “sew diaper bag step by step”).
- Common Mistakes to Avoid: Uneven seams? Always pin or clip fabrics before sewing. Zipper issues? Baste it in place first.
- Creative Variations:
- Beginner-Friendly: Skip the zipper for a simple tote bag (10 steps).
- Advanced Upgrade: Add wheels, a laptop sleeve, or convertible backpack straps (30+ steps).
- Eco-Friendly: Upcycle old jeans or shirts into fabric.
New to sewing? Start with a smaller project, like a pouch, to practice.
Frequently Asked Questions (FAQs)
- How long does this take? Beginners: 6–10 hours; experienced sewers: 4–6 hours.
- Can I hand-sew this? Yes, but it will take longer (add 2–3 hours).
- Where to buy materials? Try Amazon, Etsy, or craft stores. For kits, search “diaper bag sewing kit.”
- How to make it waterproof? Use laminated fabrics or apply a waterproofing spray to seams.
- Is this safe for pregnant crafters? Yes, but take breaks to avoid fatigue. Avoid prolonged standing.
Final Thoughts: Start Your DIY Journey Today!
Sewing mommy bag tutorial is significative and more than a craft—it’s an act of love that simplifies parenting. With this sewing mommy bag tutorial , you’ll create a personalized accessory that lasts for years. If you follow along, share your results in the comments below! Don’t forget to like and save this sewing mommy bag tutorial to help other parents discover the joy of DIY.